With my car away being made to look pretty by much more skillful people than me (hopefully), I have been doing a few jobs in it's absence.
First was to tidy my garage; it was a tip!
Second was to fill and sand all the imperfections in the dashboard and interior trim pieces, ready for upholstering.
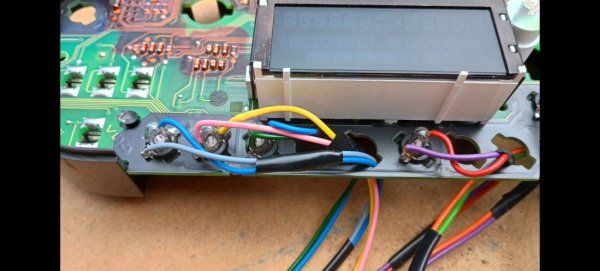
Then I tackled my centre gauge pod housing. It is aluminium and was supplied to me straight off the milling machine, so was in a terrible state. Rough machining marks covering it's entirety. It was supplied with two pieces of 3D printed black plastic to sit behind the gauges. However, typical of the seller I bought it all from; they were terrible quality, different sizes and didn't fit anyway. So I resigned those to the bin.
I have never polished any metal before, so was a little nervous.
I started sanding the housing with 320 grit paper but it was taking too long, so I changed to 120 grit. This got most of the machining marks off, then went to 180, 320, 600 and finally 1200. It took a long while and was very fiddly.
Then I used my Dremel with little cotton wheels on and some polishing compound sticks or different grades I bought from eBay. This was trial and error, so I did the rear of the housing, which won't be seen, to practice.
I would say it took the best part of 12 hours to get the entire piece to a mirror shine, but well worth it. I then painted the inside rear with self-etching primer and four thin coats of satin black from a rattle can. The masking took a while too, as it needed to have clean lines as these will be seen.
I am extremely pleased with the results. Not sure if I am ready for stainless polishing yet, but aluminium.....sorted.
View attachment 332605View attachment 332607View attachment 332609

")


 .
.